How To Make A Dog Treadmill: Easy DIY Guide
A safe dog treadmill needs a stable moving surface, gentle speed control, side rails, and a reliable emergency stop.
Learning how to make a dog treadmill can save money and help your dog exercise indoors, but safety must come first. A well-built treadmill should feel like a calm walking path, not a fast machine. This guide explains the safest DIY design, the tools and materials you need, how to train your dog, and when a store-bought treadmill is the better choice.

Is a DIY dog treadmill safe?
A DIY dog treadmill can be safe when it is slow, stable, wide enough, and easy to stop. It must also match your dog’s size, stride, fitness level, and health needs.
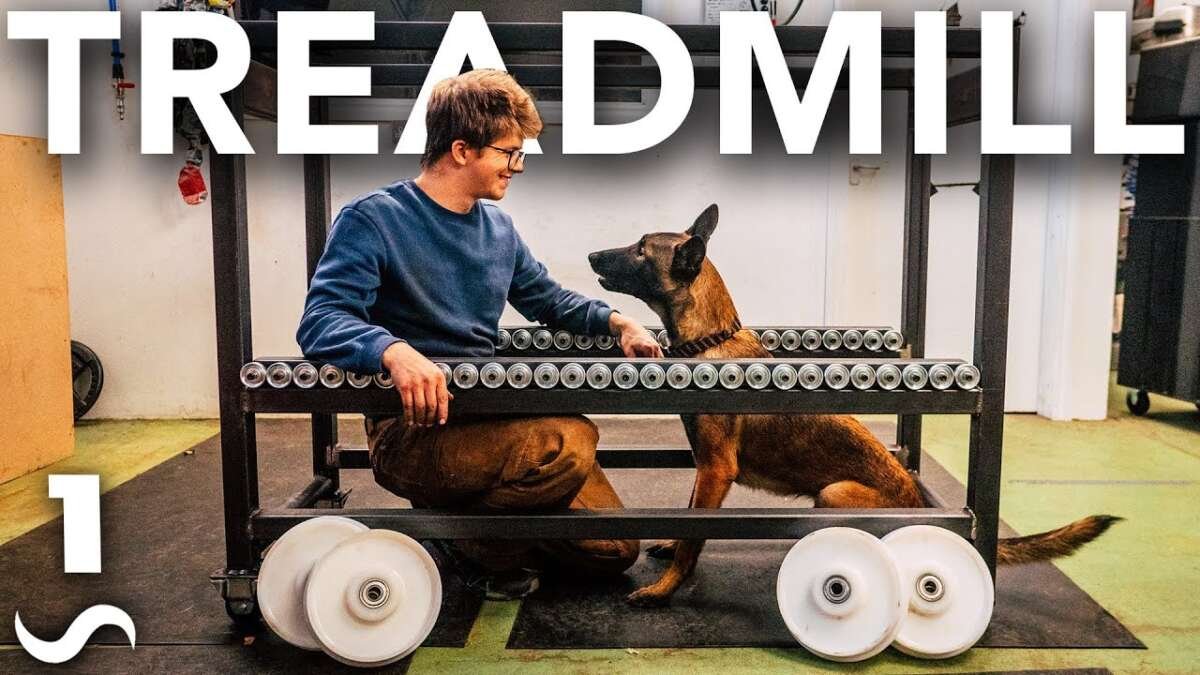
The safest beginner design is a manual treadmill, often called a carpet mill. Your dog’s walking motion moves the belt. This removes the risk of a powered belt suddenly speeding up.
A motorized treadmill is more complex. It needs speed control, an emergency stop, guarded moving parts, and strong electrical safety. If you cannot test these systems well, choose a manual design or buy a commercial dog treadmill.
Before building, ask your veterinarian about exercise if your dog has:
• Joint pain or arthritis
• Heart or breathing problems
• A recent injury or surgery
• Weakness, balance trouble, or seizures
• Obesity or very poor fitness
• Fear of moving surfaces
Never force a dog onto a treadmill. Exercise should build confidence, not fear.

How a dog treadmill works
A dog treadmill has a moving walking surface held between two rollers. The belt moves under the dog’s paws while the frame keeps the unit stable.
A basic treadmill includes:
• A strong frame
• Two smooth rollers
• A flexible belt or carpet surface
• Side rails or panels
• A level walking deck
• A way to stop the belt quickly
• A safe area for the dog’s leash or harness, if one is used
A manual treadmill works when the dog pushes the belt backward with each step. A motorized treadmill uses an electric motor to move the belt at a set speed.
For most home builders, a manual dog treadmill is easier to control. It also creates less noise, less heat, and fewer electrical hazards.
The belt should move smoothly. If it sticks, jerks, or pulls to one side, stop using the treadmill and fix the problem before training continues.

Choosing the right treadmill design
There are three common designs. Each has different costs, skills, and safety needs.
Manual carpet mill
A carpet mill uses a belt made from carpet or another durable flexible material. The dog moves it by walking.
Benefits include:
• No motor or power cord
• Simple speed control
• Lower cost
• Less noise
• Easy stopping when the dog stops
Its main limit is resistance. If the belt is too tight, your dog may struggle. If it is too loose, it may slip or bunch up.
Motorized treadmill
A motorized treadmill uses a low-speed motor and a powered belt. It can provide steady exercise, but it needs more careful design.
Important features include:
• A speed range that starts very slowly
• A large stop button
• A remote emergency switch
• A belt guard
• A cool-running motor
• A grounded electrical system
• A stable frame that cannot tip
Do not connect a dog treadmill to an unprotected motor or use a device with exposed wiring. Electrical work should be checked by a qualified professional.
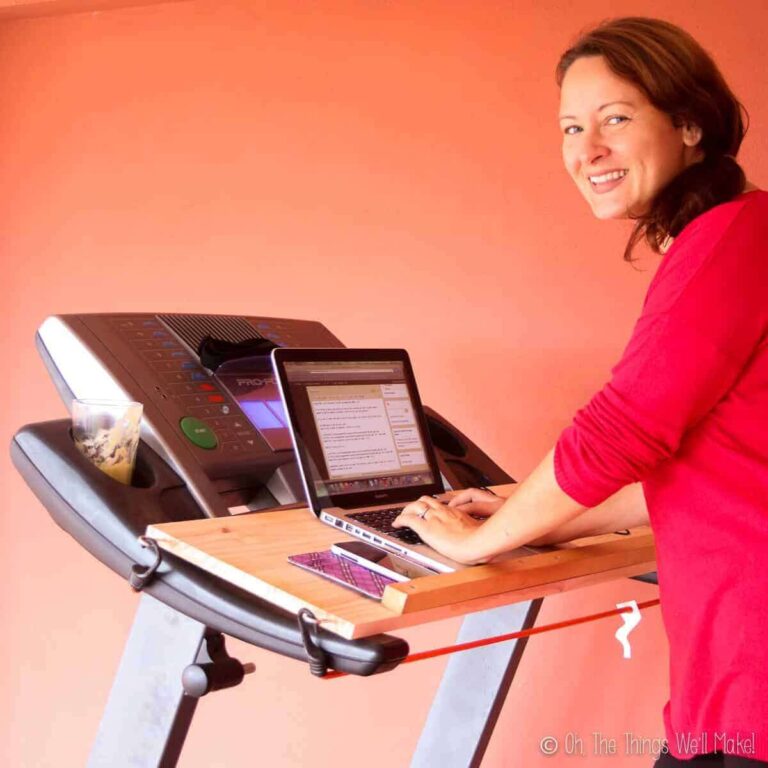
Repurposed human treadmill
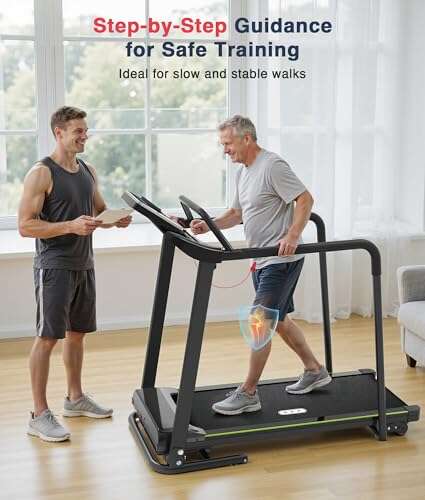
A used human treadmill may seem convenient. However, many human treadmills are too narrow, too fast, or too short for dogs.
A human treadmill can work only if:
• The walking deck is long enough for your dog
• The belt width allows natural movement
• The lowest speed is slow enough
• Side rails do not trap the dog
• The emergency stop is easy to reach
• The machine runs quietly and smoothly
A dog should never use a human treadmill without close supervision.

Materials and tools for a manual dog treadmill
The exact materials depend on your dog’s size. Measure your dog before cutting anything.
For a basic manual dog treadmill, gather:
• Two straight wooden or steel side rails
• Two sturdy rollers with sealed bearings
• A belt made from heavy carpet, treadmill belt material, or durable rubber
• A flat walking deck
• Spacers or cross braces
• Non-slip feet
• Smooth side panels or guard rails
• Bolts, washers, and lock nuts
• Sandpaper or a file
• A drill and suitable bits
• A measuring tape
• A square and level
• A saw or metal-cutting tool, based on the frame material
Avoid sharp screws inside the walking area. Cover exposed fasteners and round every corner that your dog could touch.
Choose materials that are strong but not overly heavy. A bulky frame is hard to move and may discourage regular use.

Measuring the treadmill for your dog
Correct size matters more than appearance. A treadmill that is too short can force a dog to shorten its stride and may increase stress on the back and joints.
Measure your dog while standing and walking.
Use these general guidelines:
• Walking surface length: at least 1.5 times your dog’s body length
• Walking surface width: wide enough for your dog to turn its head and walk without touching the rails
• Side rail height: high enough to guide the dog, but low enough to avoid a trapped feeling
• Frame height: low enough for easy entry and exit
For a small dog, a walking surface around 30 to 36 inches long may work. Medium dogs often need about 36 to 48 inches. Large dogs may need 48 inches or more.
These are starting points, not fixed rules. A long-legged dog may need more room than a compact dog of the same weight.
Let your dog walk beside the planned frame. Watch the stride. The front and back paws should have room to land naturally without crowding.

How to make a dog treadmill step by step
The following method focuses on a manual carpet mill. It avoids the added risks of a powered motor and is suitable for many careful home projects.
1. Build the frame
Cut two side rails to the planned length. Add front and rear cross braces to create a firm rectangle.
Check the frame with a square. If the corners are not even, the rollers may sit at an angle and make the belt drift.
Fasten every joint with bolts or strong structural screws. Glue alone is not enough for a moving machine.
Place rubber feet under the frame. They should prevent sliding on tile, wood, or concrete.
2. Install the rollers
Place one roller at the front and one at the rear. They must be parallel.
Use sealed bearings if possible. Bearings reduce friction and help the rollers turn smoothly.
Turn each roller by hand. It should rotate without grinding, wobbling, or stopping suddenly.
A small alignment error can cause a large belt problem. Measure the distance from each roller end to the frame edge before tightening the bolts.
3. Add the walking deck
The belt needs support beneath it. A flat deck reduces sag and creates a more even walking path.
Use a smooth, strong board or a proper treadmill deck. Sand the surface and remove splinters.
The deck should not flex under your dog’s weight. Test it with more weight than your dog weighs, while keeping your hands clear of moving parts.
Some designs use a low-friction deck. Others use rollers under the belt. A low-friction deck is usually simpler for a home build.
4. Make and fit the belt
Cut the belt material so it wraps around both rollers with a small amount of adjustment room.
A carpet belt can work for a manual treadmill, but the backing should be strong and the surface should not shed loose fibers. Avoid thick, fluffy carpet that catches paws.
Join the belt with a strong, flat seam. A raised seam can irritate paw pads or create a bump with every step.
Fit the belt over the rollers. Turn the rollers slowly by hand and watch the belt track.
5. Set the belt tension
The belt should be tight enough to move without slipping. It should not be so tight that the dog must push hard.
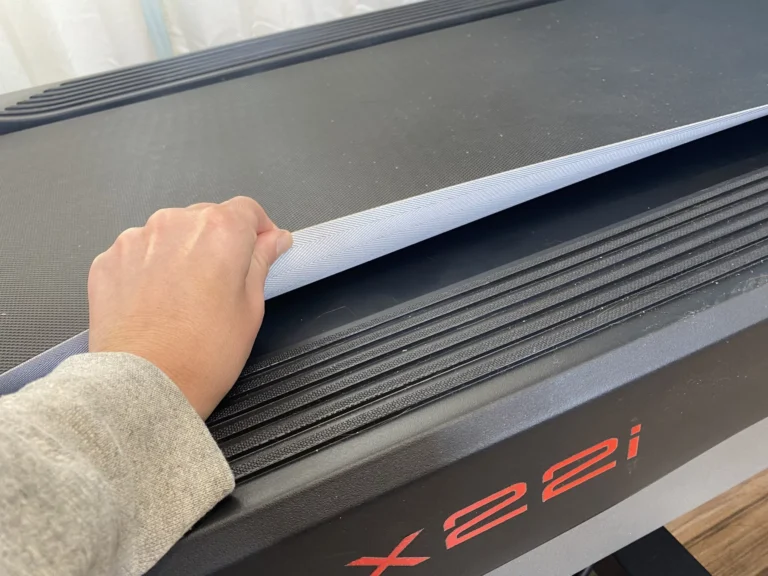
A useful test is to lift the belt slightly at the center of the deck. It should have a small amount of movement, but it should not hang loosely.
Adjust both sides equally. Uneven tension makes the belt drift toward one rail.
After adjustment, walk the belt by hand for several minutes. Listen for rubbing, clicking, or scraping.
6. Add side guides
Side guides help the dog stay centered. They should not act like a narrow chute.
Use smooth panels with rounded edges. Leave enough open space for the dog to see the room and exit easily.
Do not attach a fixed collar point to the treadmill. A collar can catch or pull the dog’s neck.
If you use a leash, attach it only to a well-fitted harness and keep it loose. Many trainers prefer no leash during early treadmill work.
7. Add an emergency stop plan
A manual treadmill stops when the dog stops, but you still need a quick way to remove the dog.
Keep one side open or create a simple release gate. Never make the dog jump off a moving belt.
For a motorized treadmill, use a large emergency stop button within arm’s reach. Test it before every session.
Do not rely on a small magnetic key alone. It can fall off, become hard to reach, or fail to stop the belt fast enough.

Testing a homemade dog treadmill
Test the treadmill without your dog first. This step can reveal problems before an animal is at risk.
Follow this order:
- Place the treadmill on a level floor.
- Check every bolt, brace, and bearing.
- Turn the belt by hand.
- Add weight close to your dog’s weight.
- Walk the belt again.
- Check for belt drift.
- Listen for sharp sounds or rubbing.
- Test the exit path.
- Inspect all edges and fasteners.
- Clean away dust, loose fibers, and oil.
For a motorized model, test the emergency stop many times. The belt should stop quickly without throwing the weight forward.
The frame must not rock. If it moves, add wider feet, stronger braces, or a non-slip mat.
Do not skip a test because the treadmill “looks fine.” Moving equipment can hide faults until pressure is applied.

Introducing your dog to the treadmill
Training is often harder than building. A dog may see the belt as an odd floor that moves under its feet.
Start with the treadmill turned off.
Use small treats and a calm voice. Let your dog sniff the frame, walk around it, and place one paw on the belt if it chooses.
Progress through these steps:
• Reward calm behavior near the treadmill
• Reward standing on the stopped belt
• Move the belt by hand for one or two seconds
• Reward relaxed body language
• Practice stepping off calmly
• Add a few slow steps
• Stop before the dog becomes worried
Keep the first sessions very short. Thirty seconds of calm work is better than five minutes of panic.
Watch the ears, tail, mouth, and body. Lip licking, freezing, tucked tail, wide eyes, trembling, or repeated attempts to escape mean the session is too hard.
Never drag a dog onto the treadmill. Trust is part of the equipment.

Safe speed and workout length
A dog treadmill should begin at a slow walking pace. The exact speed depends on the dog’s size, fitness, gait, and health.
Start with one to three minutes. Give your dog a rest, water, and praise. Add time slowly over several sessions.
A healthy adult dog may later walk for 10 to 20 minutes, but this is not a target for every dog. Older dogs, puppies, brachycephalic breeds, and overweight dogs may need much less.
Look for a relaxed, steady walk. Your dog should not scramble, lean heavily on the rails, or struggle to keep up.
Stop at once if you notice:
• Limping or uneven steps
• Excessive panting
• Blue, pale, or gray gums
• Weakness or wobbling
• Drooling with distress
• Repeated stopping
• Panic or escape attempts
• A sudden change in gait
Allow your dog to cool down. Offer water, but avoid forcing a large amount at once after hard exercise.
Common DIY dog treadmill mistakes
Many homemade treadmill problems come from small design choices. Fixing them early can protect your dog and your project.
Making the belt too narrow
A narrow belt may make the dog brush the rails. This can cause stress and change the natural gait.
Build for comfortable movement, not the smallest possible footprint.
Using a short walking deck
A short deck can cause the dog’s rear paws to step off the belt. Measure the full stride, not just the dog’s standing length.
Adding too much resistance
A belt that barely moves may look stable, but the dog may overwork its shoulders and back.
Reduce friction or loosen the belt slightly. The dog should move it with a smooth walk.
Using sharp or exposed hardware
A screw head, rough edge, or splinter can cut skin or damage paw pads.
Run your hand over every surface before use. If it can scratch your hand, it can hurt your dog.
Installing high side walls
Tall panels may trap a nervous dog. They also reduce airflow and make the treadmill feel like a box.
Use low guides and keep the dog’s view open.
Tying the dog tightly
A tight leash can create a strangulation or entanglement risk. Use a harness and loose line only when truly needed.
Skipping rest days
More exercise is not always better. Muscles, tendons, and joints need time to adapt.
Cleaning and maintaining a dog treadmill
A clean treadmill works better and feels safer. Hair and dust can collect around rollers, bearings, and belt seams.
After each use:
• Remove hair and loose debris
• Wipe sweat or drool from the rails
• Check the belt for tears
• Look for loose bolts
• Check the feet for sliding
• Store the treadmill in a dry area
Once a week, inspect the belt alignment and roller movement. Do not spray lubricant onto the walking surface. A slippery belt can cause a fall.
Use only a lubricant approved for the bearings or treadmill system. Too much oil can attract dust and contaminate the belt.
Replace the belt if it cracks, develops a raised seam, or begins to slip. Replace damaged side panels at once.
Keep the treadmill away from children when it is not in use. A curious pet can become trapped in an unattended machine.
DIY dog treadmill versus a commercial model
Building a dog treadmill can cost less and let you customize the size. It can also be a rewarding project if you enjoy woodworking or mechanical work.
A commercial model may be the better choice when you need:
• A tested speed-control system
• A built-in emergency stop
• A warranty
• A long walking surface
• A quiet motor
• A design for rehabilitation
• Professional support
A homemade treadmill has limits. It may not have laboratory safety testing, accurate speed readings, or a dependable service plan.
For a large dog, a senior dog, or a dog recovering from injury, consult a veterinarian or canine rehabilitation professional before choosing either option.
A treadmill is also not a full replacement for outdoor activity. Dogs need sniffing, varied surfaces, social contact, and mental enrichment. Think of the treadmill as one tool in a larger exercise plan.
Practical lessons from building and testing the design
The most useful lesson is to design for the dog, not the machine. People often focus on rollers and belt tension but forget that the dog needs a clear view, a calm entry, and an easy exit.
Another important lesson is to start with less resistance than seems necessary. A belt that feels slightly easy for a person may be just right for a dog learning the motion.
Noise also matters. A squeaking roller or vibrating frame can frighten a sensitive dog. Test the sound from the dog’s height, because noises near the floor may seem louder.
Finally, do not rush training after a successful first session. A dog may walk once because it is curious, then become worried later. Short, positive practice builds a stronger habit than long forced workouts.
How to make a dog treadmill more comfortable
Small improvements can make the treadmill easier for both you and your dog.
Try these adjustments:
• Place a rubber mat under the frame
• Add soft lighting around the training area
• Keep the room cool and well ventilated
• Use high-value treats in tiny pieces
• Keep other pets away during training
• Use a familiar cue such as “walk”
• Let the dog step off whenever possible
• Keep sessions at the same time each day
Do not place the treadmill beside a loud washer, heater, or busy doorway. A quiet room helps the dog focus.
If your dog refuses the treadmill after several gentle sessions, stop and reassess. The surface, sound, size, or training method may be wrong.
Frequently Asked Questions About How to Make a Dog Treadmill
Can I make a dog treadmill without a motor?
Yes. A manual carpet mill uses the dog’s movement to turn the belt and is often the simplest DIY option. It still needs a stable frame, smooth rollers, correct belt tension, and close supervision.
What size should a homemade dog treadmill be?
The walking surface should be longer than your dog’s full natural stride and wide enough for easy movement. Measure your dog while walking, then add extra room rather than building to the smallest size.
Is a carpet mill better than a powered dog treadmill?
A carpet mill is often easier and safer for a beginner because it has no motor or electrical controls. A powered treadmill offers steady speed but requires stronger safety systems and more careful testing.
Can a puppy use a homemade dog treadmill?
A puppy should use a treadmill only with veterinary approval and close supervision. Puppies have developing bones and joints, so short, gentle sessions are more suitable than forced endurance exercise.
Should I use a leash on a dog treadmill?
Avoid attaching a leash to a collar. If guidance is needed, use a properly fitted harness and a loose line, but keep the dog away from possible snag points and remain within reach.
How fast should a dog treadmill go?
Begin at the slowest comfortable walking speed. Your dog should move with a relaxed gait and should never scramble, lean hard on the rails, or struggle to keep pace.
Why does my dog refuse the treadmill?
Your dog may dislike the noise, vibration, belt texture, narrow space, or loss of control. Turn the treadmill off, use gradual reward-based training, and never pull the dog onto the moving surface.
[CodeImg?] Wait user says no code after FAQ. We must not. Good.
Conclusion
How to make a dog treadmill safely comes down to four priorities: a strong frame, a smooth belt, enough walking space, and a training plan built on trust. A manual carpet mill is usually the most practical DIY design because it avoids motor and electrical risks.
Measure your dog carefully, test the treadmill with no dog present, check every edge and bolt, and begin with short walking sessions. If your dog has health concerns or your design needs a motor, professional advice can prevent costly and painful mistakes.
Build slowly, train kindly, and treat safety as part of the design. If this guide helped, share your build plan or explore more canine exercise resources before starting your project.

Brandon Knoxley is a sport & fitness writer and training guide contributor at MySportFitHub. He focuses on practical workouts, performance-based training, and honest fitness gear insights designed for real people and real results. Brandon is passionate about helping beginners and active individuals train smarter, avoid common mistakes, and build sustainable fitness habits.