
How To Loosen A Treadmill Belt: Easy Fix Guide
To loosen a treadmill belt, unplug the machine and turn both rear roller bolts counterclockwise in small, equal steps.
A treadmill belt that feels too tight can cause noise, drag, poor speed control, and extra strain on the motor. I have found that the safest fix is slow and even adjustment, not a quick twist of one bolt. This guide explains how to loosen a treadmill belt, how to tell when it is too tight, and how to test the result without damaging the machine.
Why You May Need to Loosen a Treadmill Belt
A walking belt needs enough tension to stay centered and move with the front roller. However, too much tension can make the belt feel stiff or cause the motor to work harder than it should.
Common signs of an overly tight treadmill belt include:
• The belt does not move freely when the treadmill is off.
• The motor slows when you step on the belt.
• You hear squealing, rubbing, or a strained motor sound.
• The belt feels unusually rigid when lifted from the deck.
• The treadmill shows an error during use.
• The belt drifts because one rear bolt is tighter than the other.
A belt can also feel tight because it is dry, dirty, worn, or damaged. Loosening the belt will not solve every problem. If the walking belt has cracks, frayed edges, shiny burn marks, or deep wear lines, replacement may be the better option.
I once worked on a treadmill that seemed to need a belt adjustment. The real issue was a buildup of dust and old lubricant under the belt. Cleaning the deck first prevented an unnecessary adjustment and made the machine run much better.
What You Need Before You Start
Most treadmill belt adjustments need only a few basic tools. Check your owner’s manual first because the bolt size and adjustment method can vary by brand.
Prepare:
• The correct Allen wrench or hex key
• A flashlight
• A clean cloth
• A vacuum with a soft brush attachment
• Silicone treadmill lubricant, if the manual allows it
• A level surface for testing
• Safety gloves if the rear roller area is dirty or sharp
Place the treadmill where you have room to stand behind it. Remove loose objects from the walking area. Keep children and pets away while you work.
Always switch off the treadmill and unplug it before touching the rear roller bolts. Do not adjust the belt while the motor is running. The belt and rollers can catch fingers, clothing, or tools.
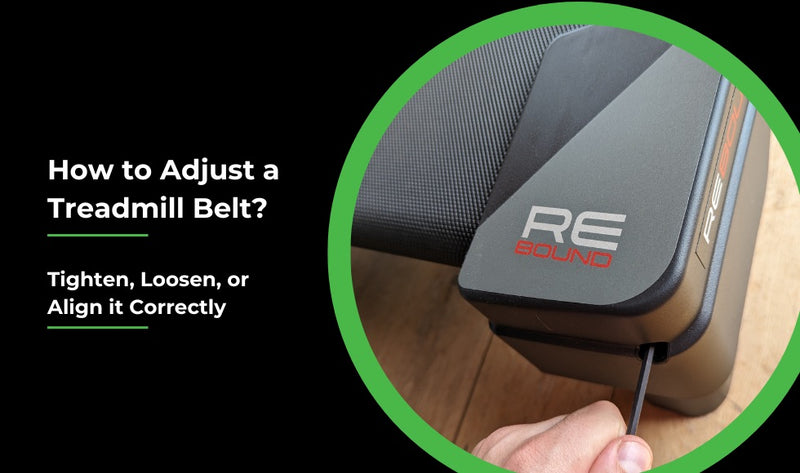
The adjustment bolts are usually found at the back of the treadmill. One bolt sits on the left side, and the other sits on the right side. These bolts change the position of the rear roller and control walking belt tension.
How to Loosen a Treadmill Belt Safely
The basic process is simple, but small changes matter. A quarter turn can make a noticeable difference on some machines.
Step 1: Turn off and unplug the treadmill
Press the stop button, switch off the power, and remove the plug from the wall. Wait several minutes before working near the motor or roller.
This step protects you from accidental startup. It also gives the belt time to stop moving fully.
Step 2: Find both rear roller bolts
Look at the back of the treadmill deck. You should see one adjustment bolt on each side of the rear roller.
Do not confuse these bolts with frame bolts. The correct bolts usually point toward the rear of the machine and sit near the belt roller.
Step 3: Mark the starting position
Use a small piece of tape or a marker to note the original position of each bolt. You can also count each turn as you work.
This makes it easier to return to the original setting if the adjustment does not help. It also prevents guesswork later.
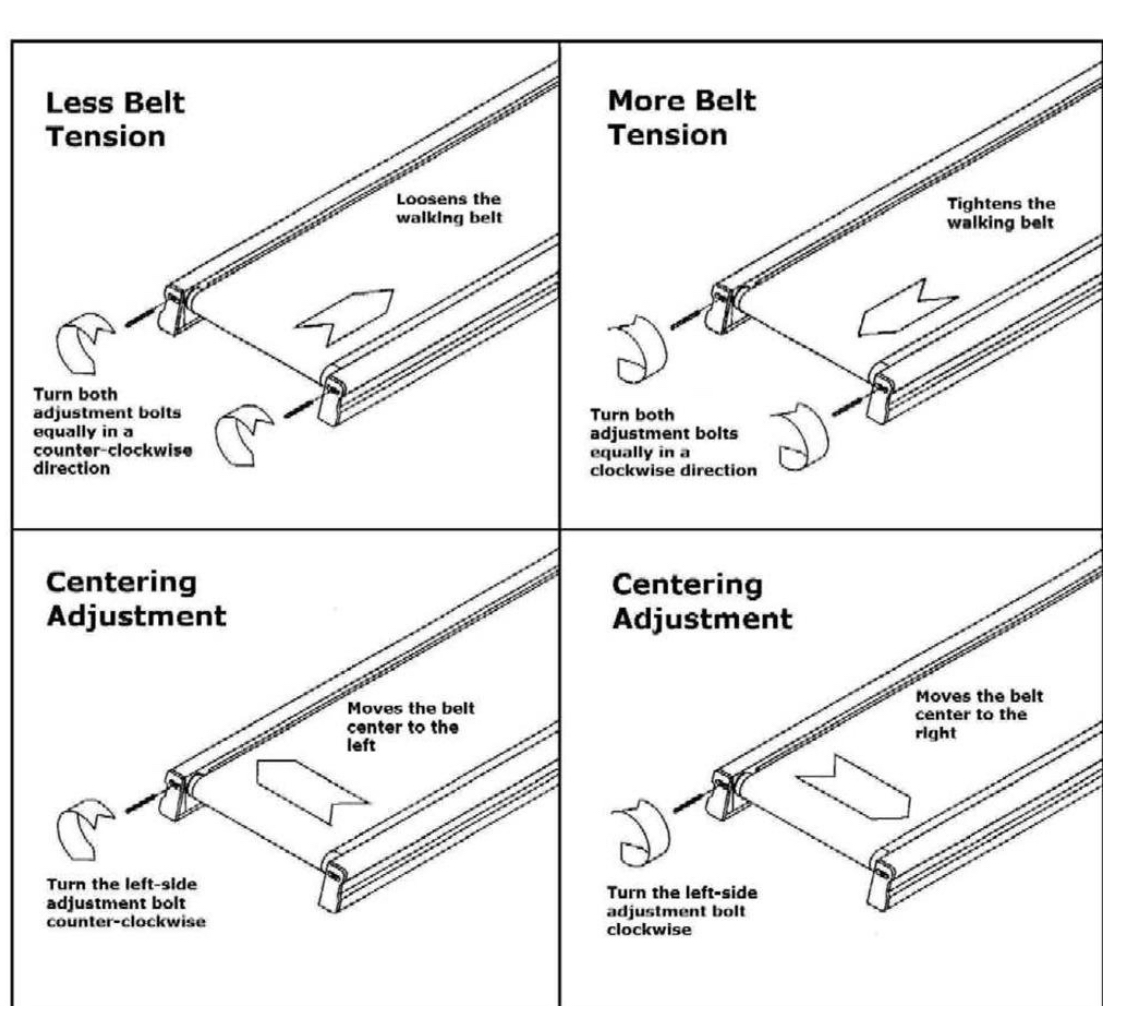
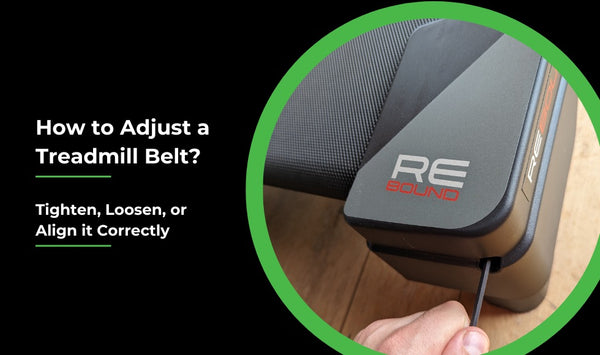
Step 4: Turn both bolts counterclockwise
In many treadmill designs, turning both rear roller bolts counterclockwise loosens the walking belt. Turn the left bolt one quarter turn, then turn the right bolt one quarter turn.
Keep the number of turns equal on both sides. This helps preserve belt alignment.
Some treadmills use a different adjustment system. If your manual gives different directions, follow the manual instead. The machine’s design should always take priority over a general guide.
Step 5: Check the belt by hand
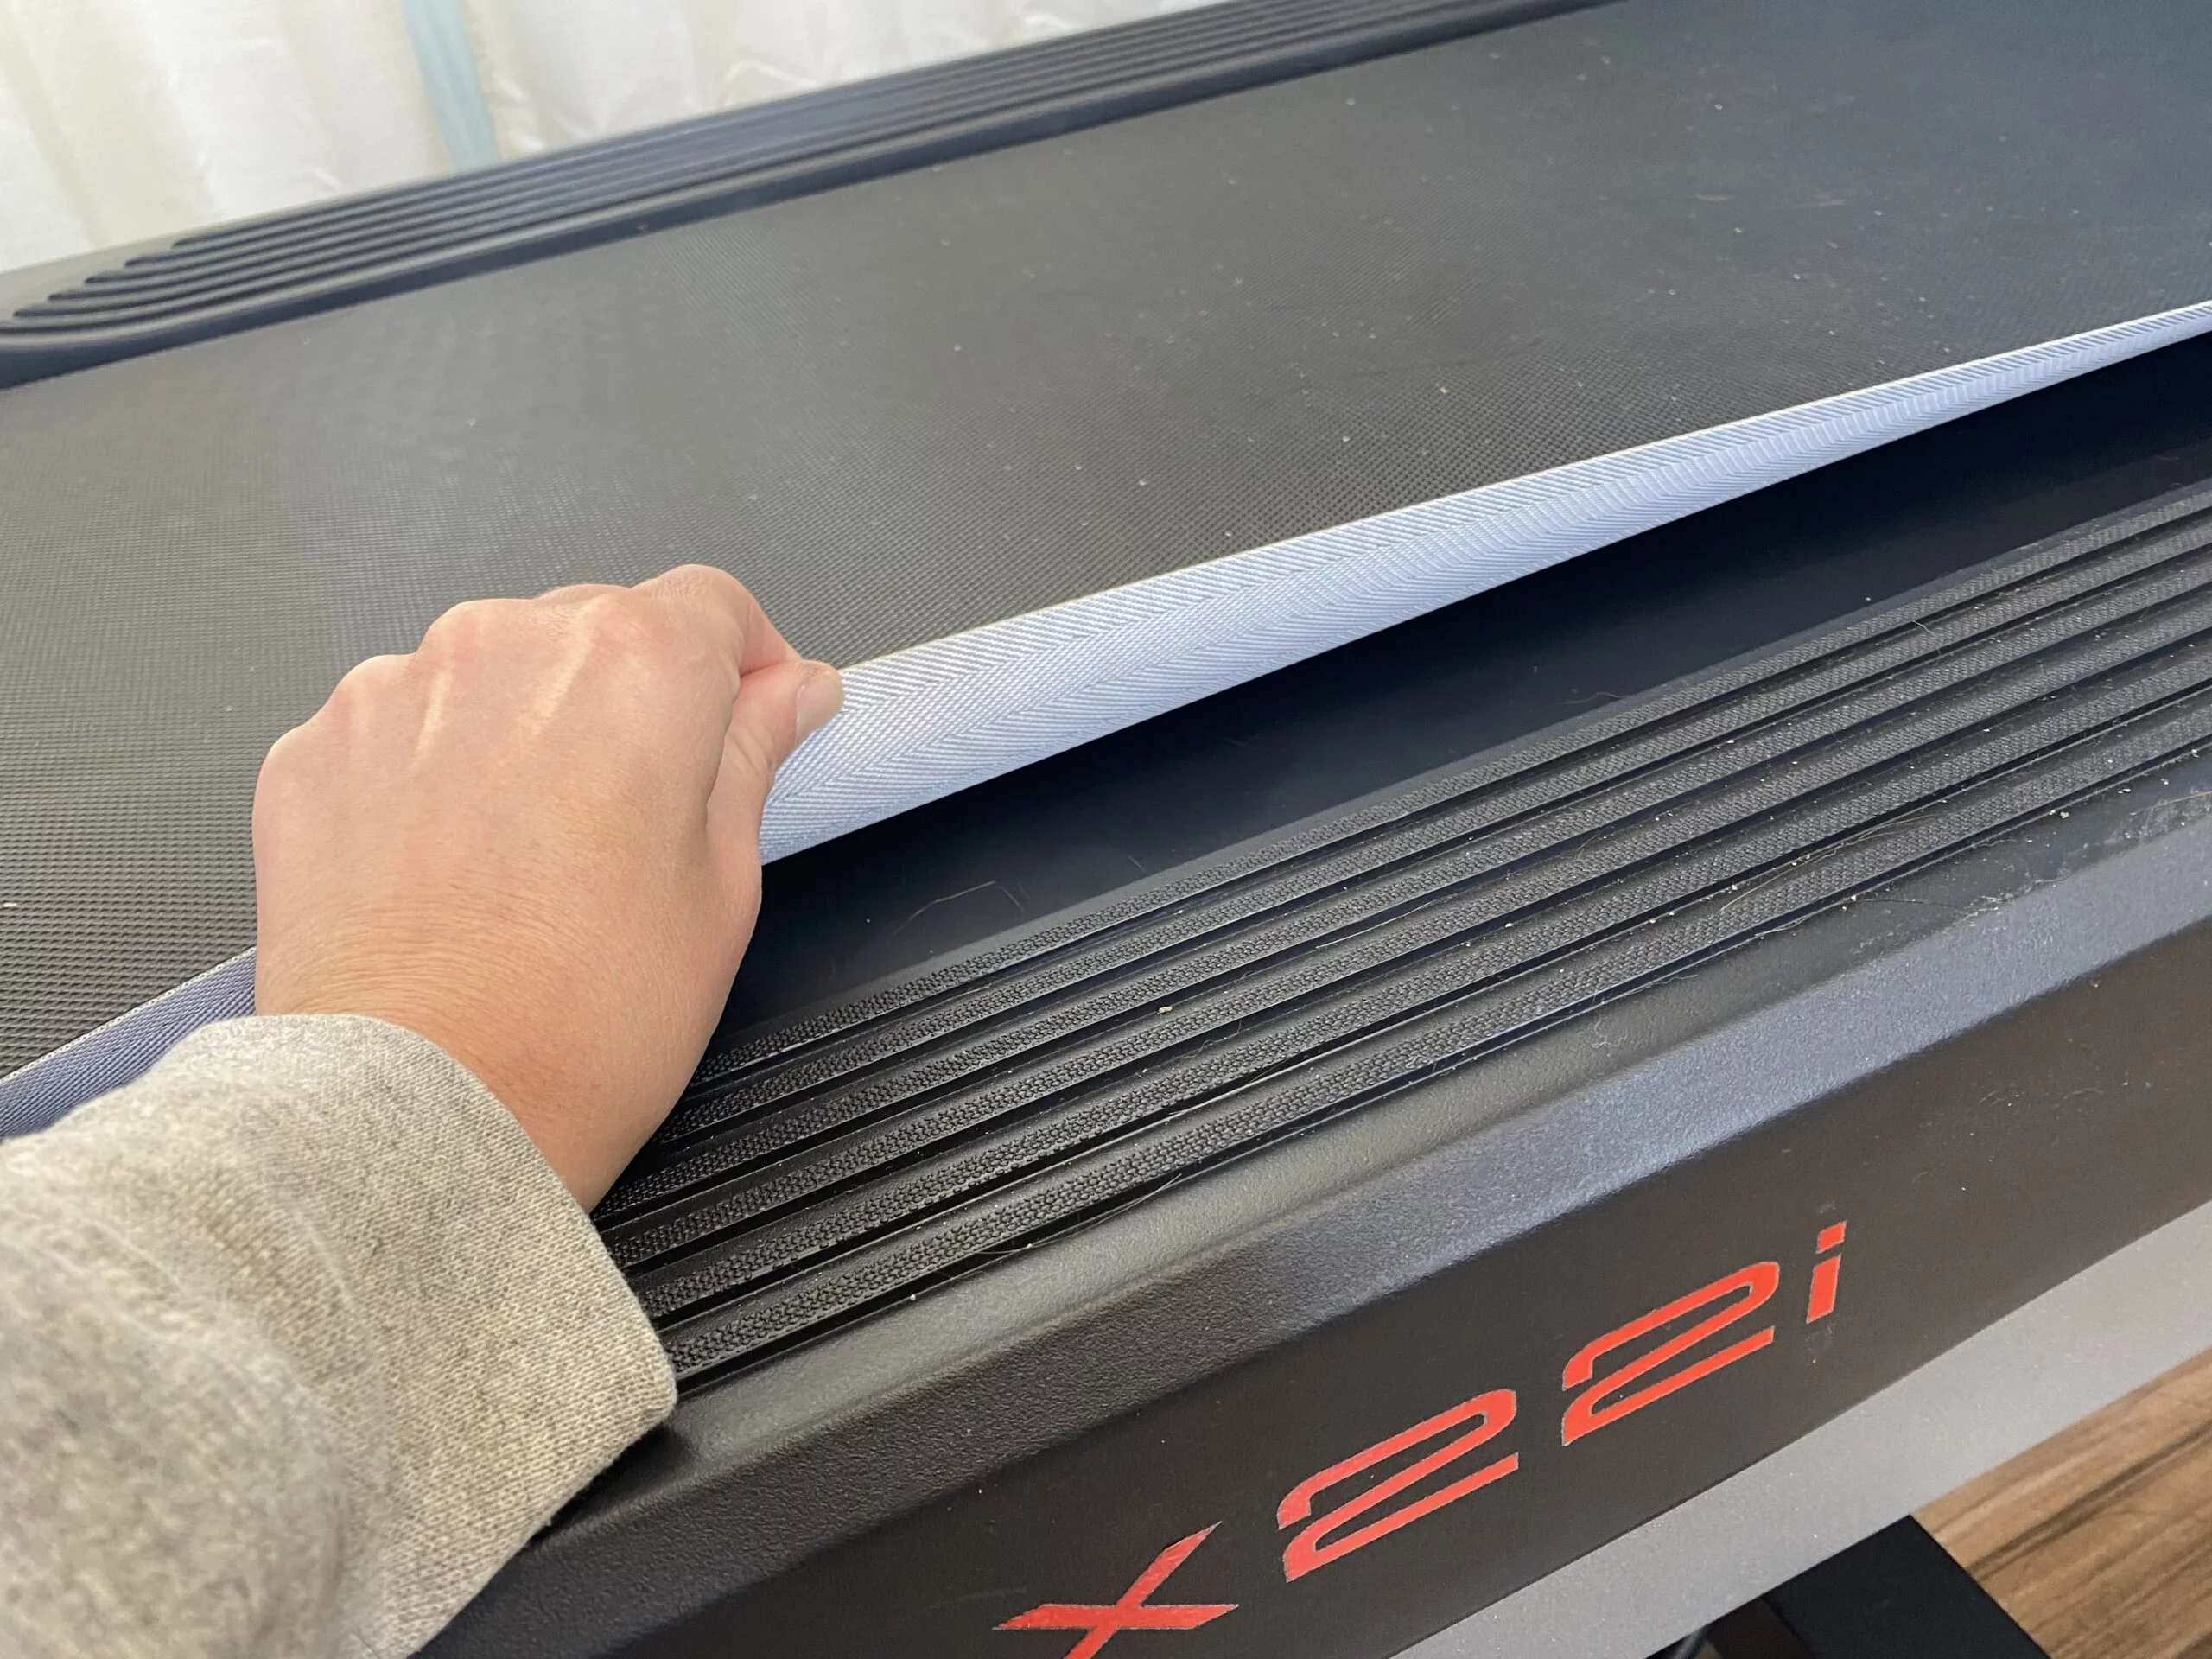
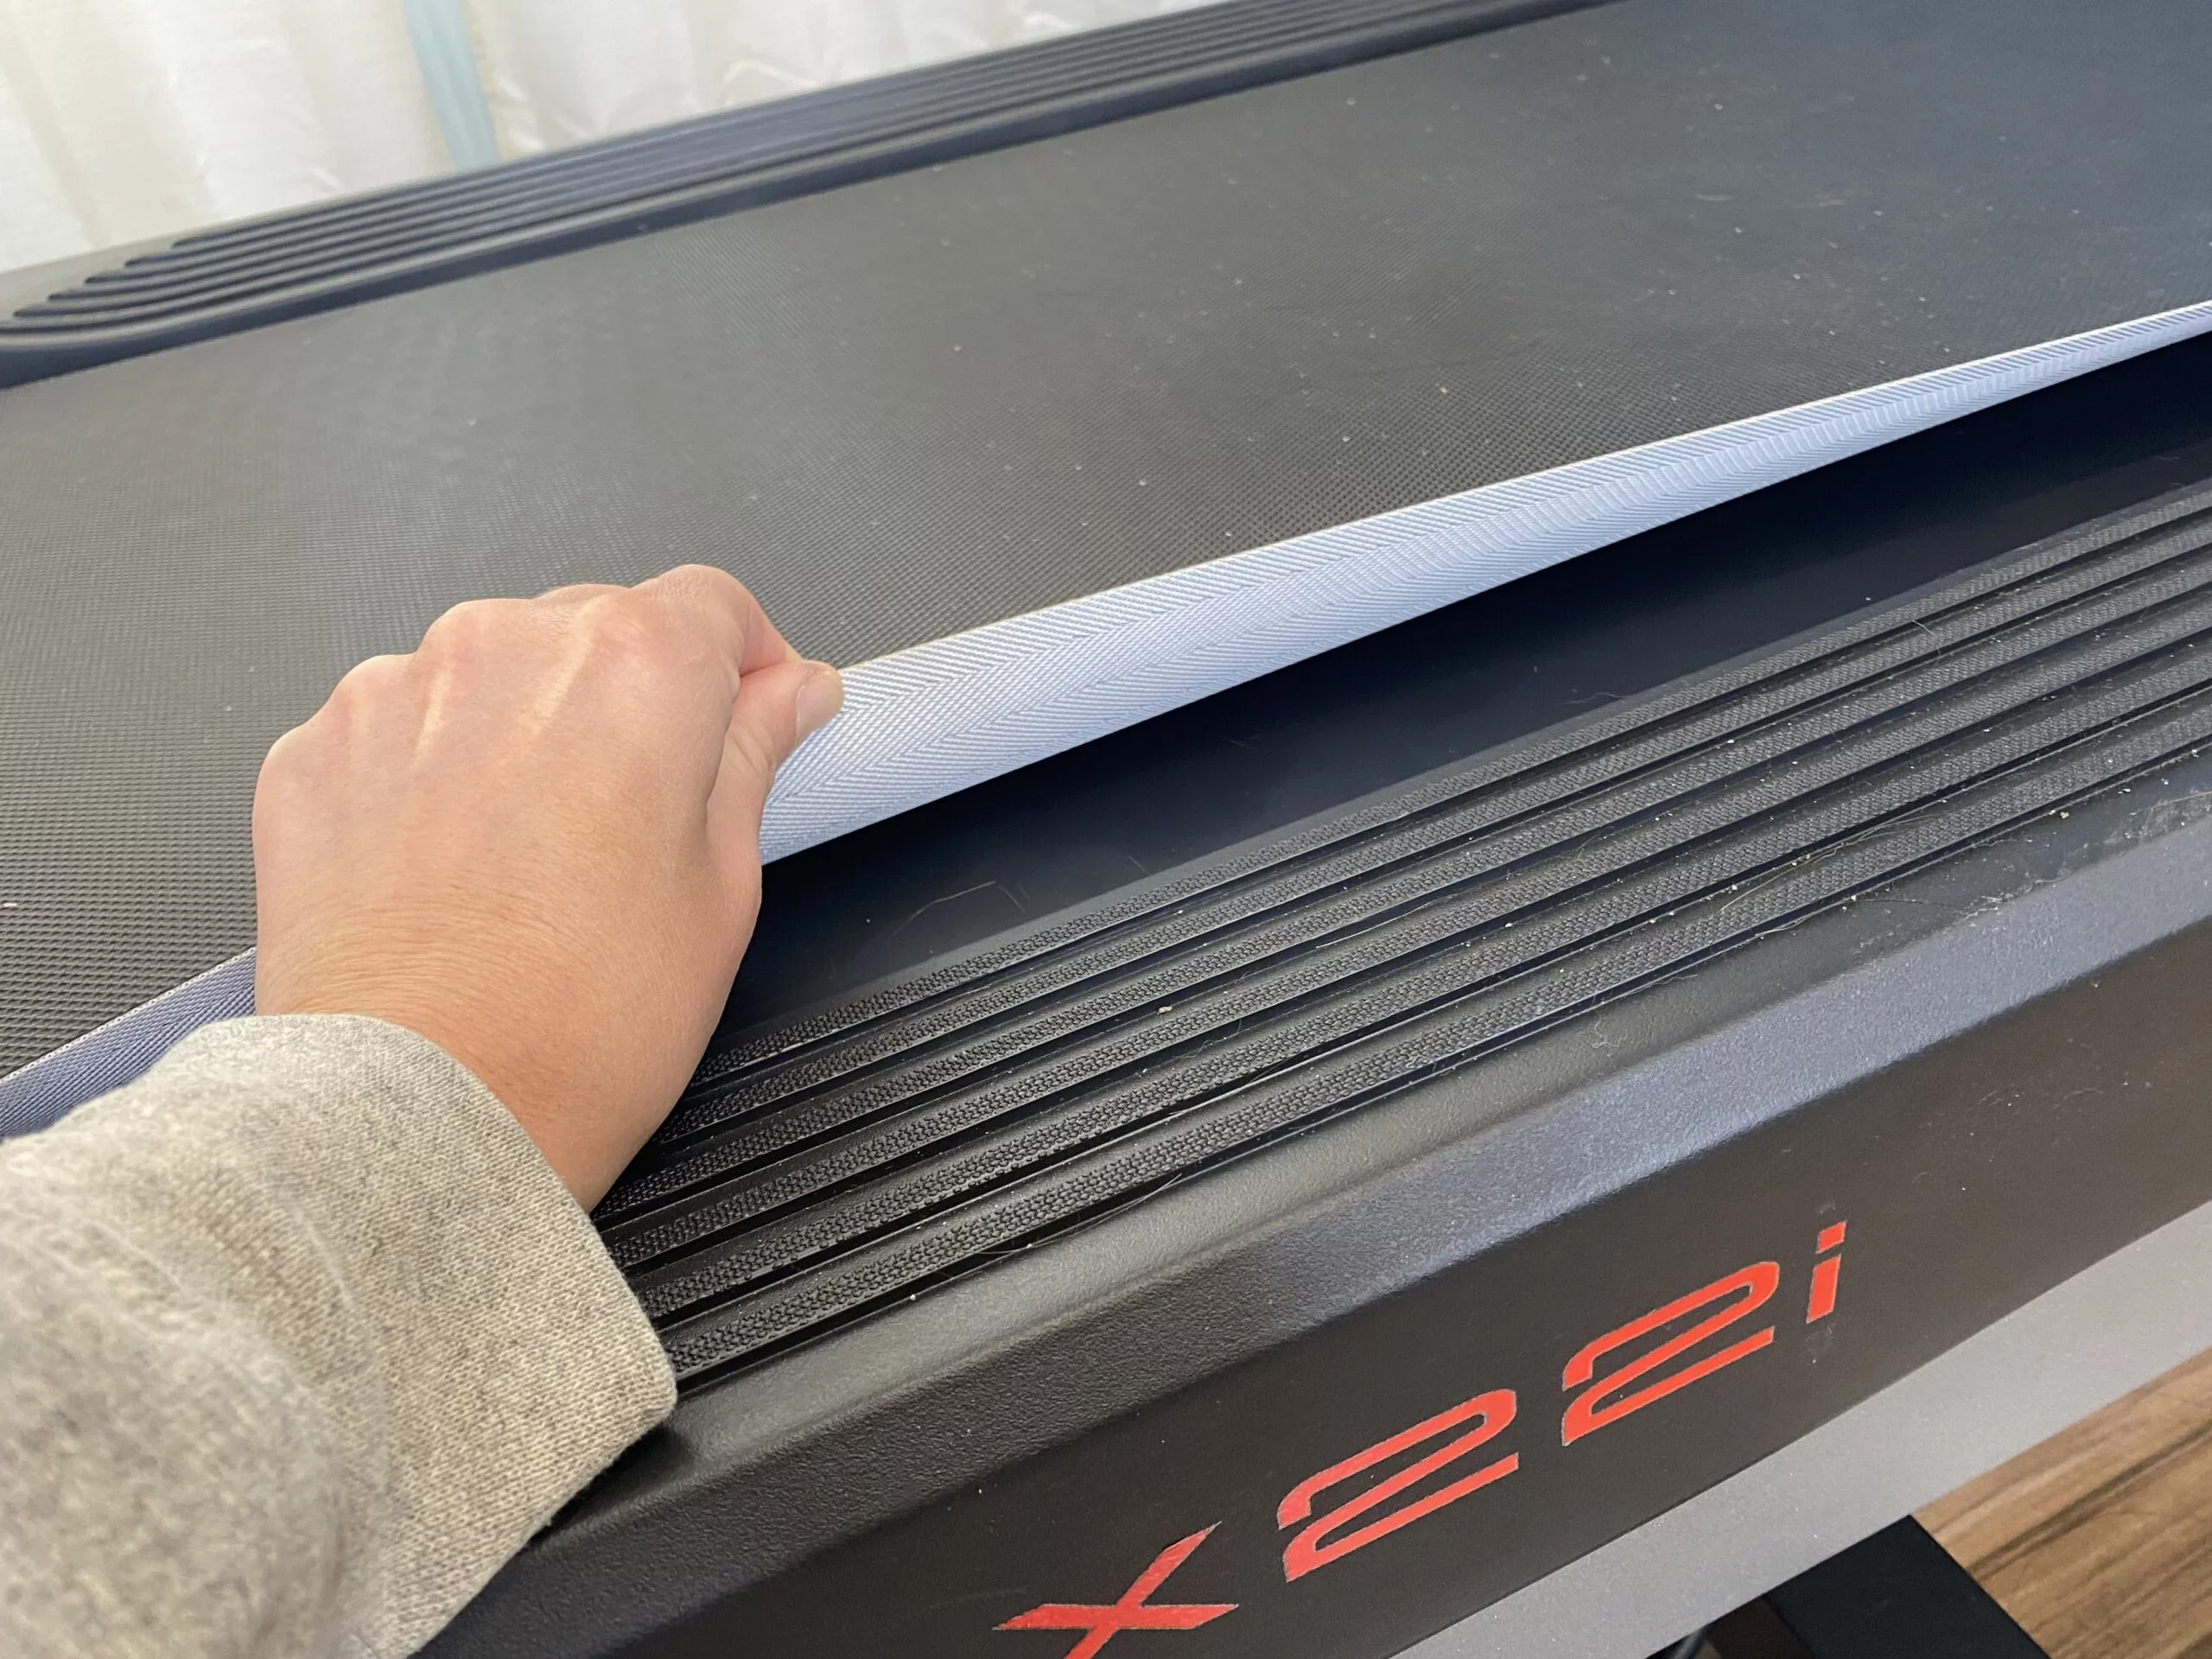
After each small adjustment, lift the belt near the center of the walking deck. Many manufacturers recommend a small gap, often around 2 to 3 inches, but the correct gap depends on the model.
Do not use belt lift alone as the only test. A belt may have the right gap but still be too loose to move smoothly. The treadmill must also pass a slow running test.
Step 6: Test the treadmill at low speed
Plug the treadmill back in and start it at its lowest speed. Stand to the side, not directly on the belt, during the first few seconds.
Listen for rubbing, slipping, or unusual motor noise. If the belt moves smoothly, step onto it carefully and walk for one or two minutes.
Repeat the process only if the belt still feels too tight. Make small adjustments instead of turning the bolts several full rotations.
How Much Should You Loosen the Belt?
There is no single tension setting for every treadmill. Belt width, belt material, roller design, motor power, and manufacturer instructions all affect the correct setting.
As a general starting point:
• Adjust both bolts by one quarter turn.
• Check the belt gap again.
• Run the treadmill at a slow speed.
• Walk for several minutes.
• Stop if the belt slips, stalls, or moves to one side.
A properly tensioned belt should move smoothly without hesitation. It should not stop when you walk on it, but it also should not feel pulled tight like a drum skin.
If the belt slips under your feet, it may now be too loose. If the belt remains stiff and the motor still sounds strained, the problem may involve lubrication, a worn belt, a damaged roller, or a motor issue.
One mistake I often see is making large adjustments because the first small turn seems to do nothing. Treadmill belts respond slowly, and the result may become clear only after a short test. Patience protects the belt and roller.
How to Keep the Belt Centered
Loosening a treadmill belt can change its alignment. The belt should sit near the center of the deck without rubbing either side rail.
If the belt moves left, the rear roller usually needs a small adjustment on the left or right side, depending on the treadmill design. Since alignment directions vary, use your owner’s manual when possible.
A safe method is:
-
Run the treadmill at a slow speed.
-
Watch the belt from the rear.
-
Turn off and unplug the treadmill.
-
Adjust one bolt by one eighth or one quarter turn.
-
Restart the treadmill and observe the belt.
-
Repeat only when needed.
Never turn both alignment bolts randomly while trying to center the belt. That can change tension and make the original problem worse.
The belt should not scrape the side rails. Constant rubbing can damage the belt edge and create heat. If the belt will not stay centered after careful adjustment, the rear roller may be uneven, the frame may not be level, or the belt may be worn.

Clean and Lubricate Before Further Adjustment
Dirt under the walking belt can create drag that feels like excessive tension. Dust, pet hair, and fabric fibers often collect around the motor cover and deck.
Unplug the treadmill and vacuum around the motor area, side rails, and rear roller. Do not spray household cleaner directly onto the belt or deck.
Many treadmill belts require 100% silicone lubricant, but not every model does. Some belts are prelubricated or use a special wax system. Check the manual before applying anything.
If lubrication is approved:
• Lift the belt slightly near the center.
• Apply the recommended amount to the deck.
• Avoid spraying the top walking surface.
• Run the treadmill slowly for several minutes.
• Let the lubricant spread before normal use.
Too much lubricant can cause belt slipping and collect dust. Oil-based products can damage belt materials and should not be used unless the manufacturer specifically approves them.
A clean, well-maintained deck reduces friction. It may also make the belt appear to need less loosening than it did before maintenance.
Problems That Loosening Will Not Fix
Knowing how to loosen a treadmill belt is useful, but belt tension is only one part of treadmill maintenance.
Loosening will not repair:
• A cracked or frayed walking belt
• A seized front or rear roller
• A damaged motor control board
• A worn motor brush
• A broken drive belt
• A bent treadmill frame
• A faulty speed sensor
• A deck with deep grooves or burn marks
A belt that slips may be too loose, but slipping can also come from a worn belt or a contaminated deck. A loud humming sound may point to the motor or electronics rather than the walking belt.
Stop using the treadmill if you smell burning, see smoke, feel electrical tingling, or hear sharp grinding. Unplug the machine and arrange professional service.
Manufacturer service information and consumer safety guidance consistently recommend disconnecting power before maintenance. That advice is especially important when removing covers or working near the motor control board.
Common Mistakes to Avoid
Small errors can turn a simple adjustment into an expensive repair. Avoid these common problems when you loosen a treadmill belt.
• Adjusting only one rear bolt: This can pull the belt off center.
• Turning the bolts too far: Large changes can cause slipping or roller misalignment.
• Working while the treadmill is plugged in: Accidental startup can cause serious injury.
• Using the wrong lubricant: Petroleum products may damage the belt and deck.
• Testing at high speed: A loose or misaligned belt can move suddenly.
• Standing directly behind the treadmill: The belt may eject dirt or move unexpectedly.
• Ignoring the manual: Some treadmills use unique adjustment systems.
• Assuming every noise comes from the belt: Motor, roller, and deck problems can sound similar.
When I first learned treadmill repair, the most useful lesson was to change one thing at a time. If you clean, lubricate, adjust both bolts, and change the alignment at once, you will not know which step helped or caused trouble.

When to Call a Professional
You can usually handle a small belt tension adjustment at home. However, some symptoms require trained service.
Contact a technician when:
• The belt remains tight after several small adjustments.
• The treadmill stops or surges during use.
• The belt moves sharply to one side.
• You see exposed wires or damaged electrical parts.
• The motor smells hot or burned.
• The rear roller does not turn freely.
• The belt deck is cracked or badly worn.
• The treadmill has a warranty that could be affected by DIY repairs.
A professional can check belt tension, motor current, roller bearings, deck friction, and electronic controls. This matters because a strained motor can become a much more costly problem if ignored.
If your treadmill is still under warranty, record the issue and contact the manufacturer before removing covers. Keep notes about how many turns you made on each adjustment bolt.
How Often Should You Check Treadmill Belt Tension?
Check the belt during routine cleaning and whenever the treadmill starts to feel different. There is no universal monthly schedule because use varies widely.
A home treadmill used several times each week may need inspection every few months. A machine in a busy gym may need more frequent checks.
Look for:
• A change in belt speed
• New rubbing or squealing sounds
• A belt that slips under normal walking
• Uneven belt edges
• A walking surface that feels rough
• A motor that sounds louder than usual
Regular cleaning, correct lubrication, and proper alignment can extend belt life. Keep the treadmill on a level floor and avoid placing it in a damp area.
The belt should also be replaced when it becomes brittle, cracked, or deeply worn. No amount of tension adjustment can restore a damaged walking surface.
Frequently Asked Questions About How to Loosen a Treadmill Belt
Which way do I turn the treadmill belt adjustment bolts?
On many treadmill models, turning both rear roller bolts counterclockwise loosens the belt. Designs differ, so confirm the direction in your owner’s manual before making an adjustment.
How many turns does it take to loosen a treadmill belt?
Start with one quarter turn on each rear bolt. Test the treadmill before making another small adjustment, because a full turn can create too much slack on some machines.
How do I know if my treadmill belt is too tight?
A belt may be too tight if the motor strains, the belt feels stiff, or the treadmill slows when you step on it. Noise and excess heat can also signal too much tension.
Can I loosen a treadmill belt without unplugging it?
No. Always unplug the treadmill before touching the rear adjustment bolts. This prevents accidental startup and protects you from moving parts.
What happens if I loosen the treadmill belt too much?
The belt may slip, hesitate, or stop when you walk on it. It may also lose alignment and move toward one side of the deck.
Should the treadmill belt have a gap when I lift it?
Many models allow a small gap near the center of the deck, often about 2 to 3 inches. The correct amount depends on the manufacturer, so use the manual as the final guide.
Why is my treadmill belt still tight after adjustment?
The belt may be dirty, dry, worn, or affected by a damaged roller or deck. If small adjustments do not help, stop changing the bolts and have the treadmill inspected.
Conclusion
Learning how to loosen a treadmill belt is usually a careful, low-risk task when you work slowly. Unplug the machine, find both rear roller bolts, turn them equally in small steps, and test the belt at low speed after each change.
Do not force the adjustment or assume every treadmill uses the same bolt direction. Clean the deck, use only approved lubricant, and call a professional if the belt slips, the motor overheats, or electrical problems appear.
Take a few minutes to inspect your treadmill today, then make only the adjustment it truly needs. If this guide helped, explore more treadmill maintenance tips or share your experience in the comments.

Brandon Knoxley is a sport & fitness writer and training guide contributor at MySportFitHub. He focuses on practical workouts, performance-based training, and honest fitness gear insights designed for real people and real results. Brandon is passionate about helping beginners and active individuals train smarter, avoid common mistakes, and build sustainable fitness habits.