
How To Change Treadmill Belt: Step-By-Step Guide
Replace the belt in about 1–2 hours using basic tools and careful alignment.
I’ve guided dozens of home gym owners through how to change treadmill belt and fixed my own machine twice. This guide gives clear, tested steps, tools lists, troubleshooting tips, and safety pointers so you can replace a worn belt with confidence. Read on to learn exactly when to change a belt, how to change treadmill belt step by step, and how to avoid common mistakes that cost time and money.
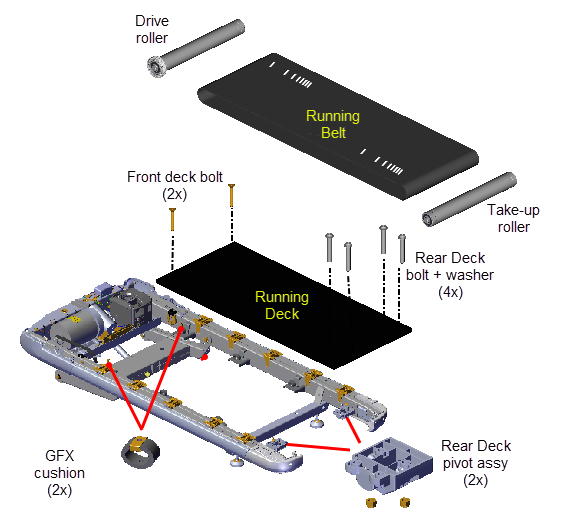
Why and when to replace your treadmill belt
A treadmill belt wears out with use, heat, and poor maintenance. Signs you need to know how to change treadmill belt include slipping, fraying edges, uneven wear, burning smells, and loud squeaks. Ignoring those signs can harm the motor, deck, and rollers, and make workouts unsafe.
Most belts last 3–7 years depending on use and care. If you run frequently or notice damage, replacing the belt sooner protects the motor and keeps your treadmill smooth and quiet. I once ignored a thin spot and later had to replace the deck too—so act early.

Tools and materials needed
Before you start learning how to change treadmill belt, gather the right tools and parts. Working prepared saves time and reduces errors.
- New treadmill belt sized for your model (check manual or model tag)
- Hex keys or Allen wrenches (often 3/8" or 6 mm)
- Socket wrench set
- Screwdrivers (Phillips and flathead)
- Tape measure and marker
- Work gloves and safety glasses
- Lubricant recommended by the manufacturer
- Helper or weight to rotate the belt while tightening
- Clean rags and mild cleaner
Double-check belt size and specifications. A wrong belt wastes time and may damage the treadmill motor.
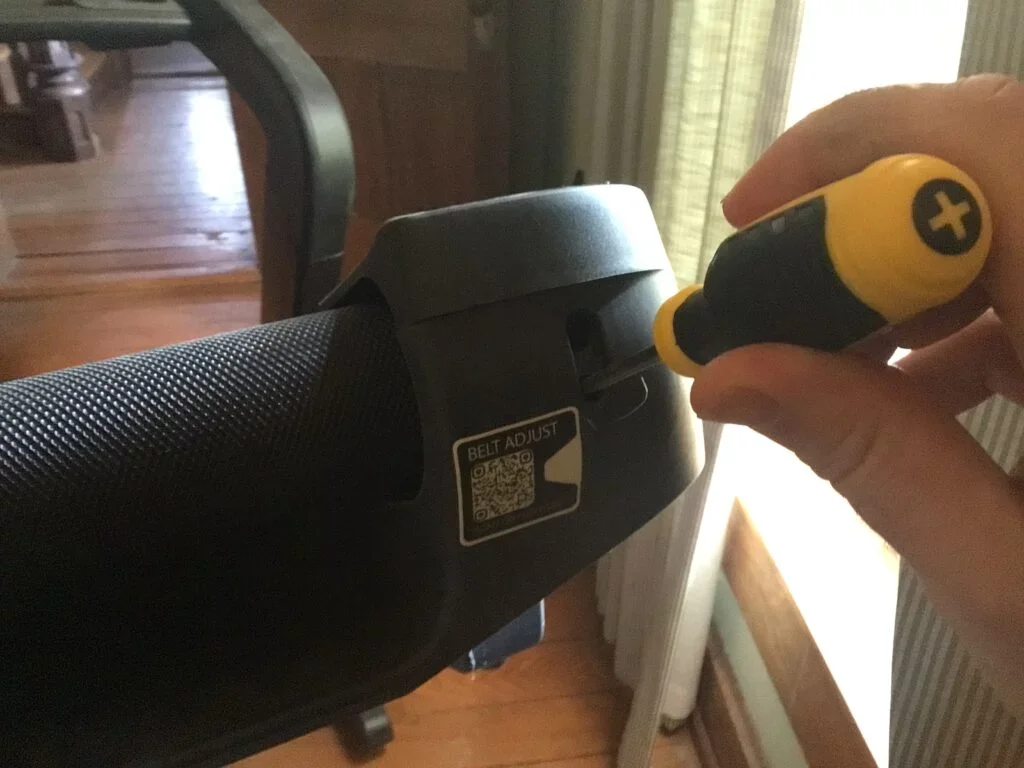
Step-by-step guide to change treadmill belt
This step-by-step outline shows how to change treadmill belt safely and correctly. Read each step before acting, and keep the power unplugged while you work.
- Prepare and unplug
- Move the treadmill to a well-lit area with room to work.
- Unplug the machine and wait for moving parts to stop.
- Remove the safety key and any tablet or accessory.
- Remove the motor hood and console if needed
- Unscrew the motor cover bolts. Some models require removing parts of the console.
- Keep screws organized so you can reassemble easily.
- Loosen and remove the old belt
- Turn the rear roller bolts counterclockwise a few turns to loosen the belt.
- Slide the belt to one side and lift it over the front roller or the console area.
- Work slowly to avoid tearing the old belt and scratching the deck.
- Inspect the deck and rollers
- Look for deep grooves, missing wood fibers, or roller damage.
- Clean dust and debris. Replace the deck or rollers if they show heavy wear.
- Install the new belt
- Center the new belt over the walking deck and loop it over the front roller.
- Align it so the seam (if any) lands under the motor area and not under your feet.
- Tension and align the belt
- Pull the belt toward the rear and tighten the rear roller bolts evenly a few turns at a time.
- Use the manufacturer’s tension specs if available. As a rule, you should be able to lift the belt 2–3 inches at mid-deck with moderate force.
- Run the belt at slow speed and watch alignment. Adjust the rear roller bolts in small increments to center the belt.
- Lubricate
- Apply treadmill-specific silicone lubricant between the belt and deck per the manual.
- Use a thin, even coat and wipe excess.
- Test and final tightening
- Plug in and run the treadmill at low speed for 10–15 minutes. Listen for unusual noises.
- Recheck tension and alignment after the test run and tighten if needed.
- Reinstall the motor hood and console.
Tips from my experience: mark the bolt turns when loosening so you can return to the same setting if needed. Take photos as you disassemble parts—photos save guesswork during reassembly.
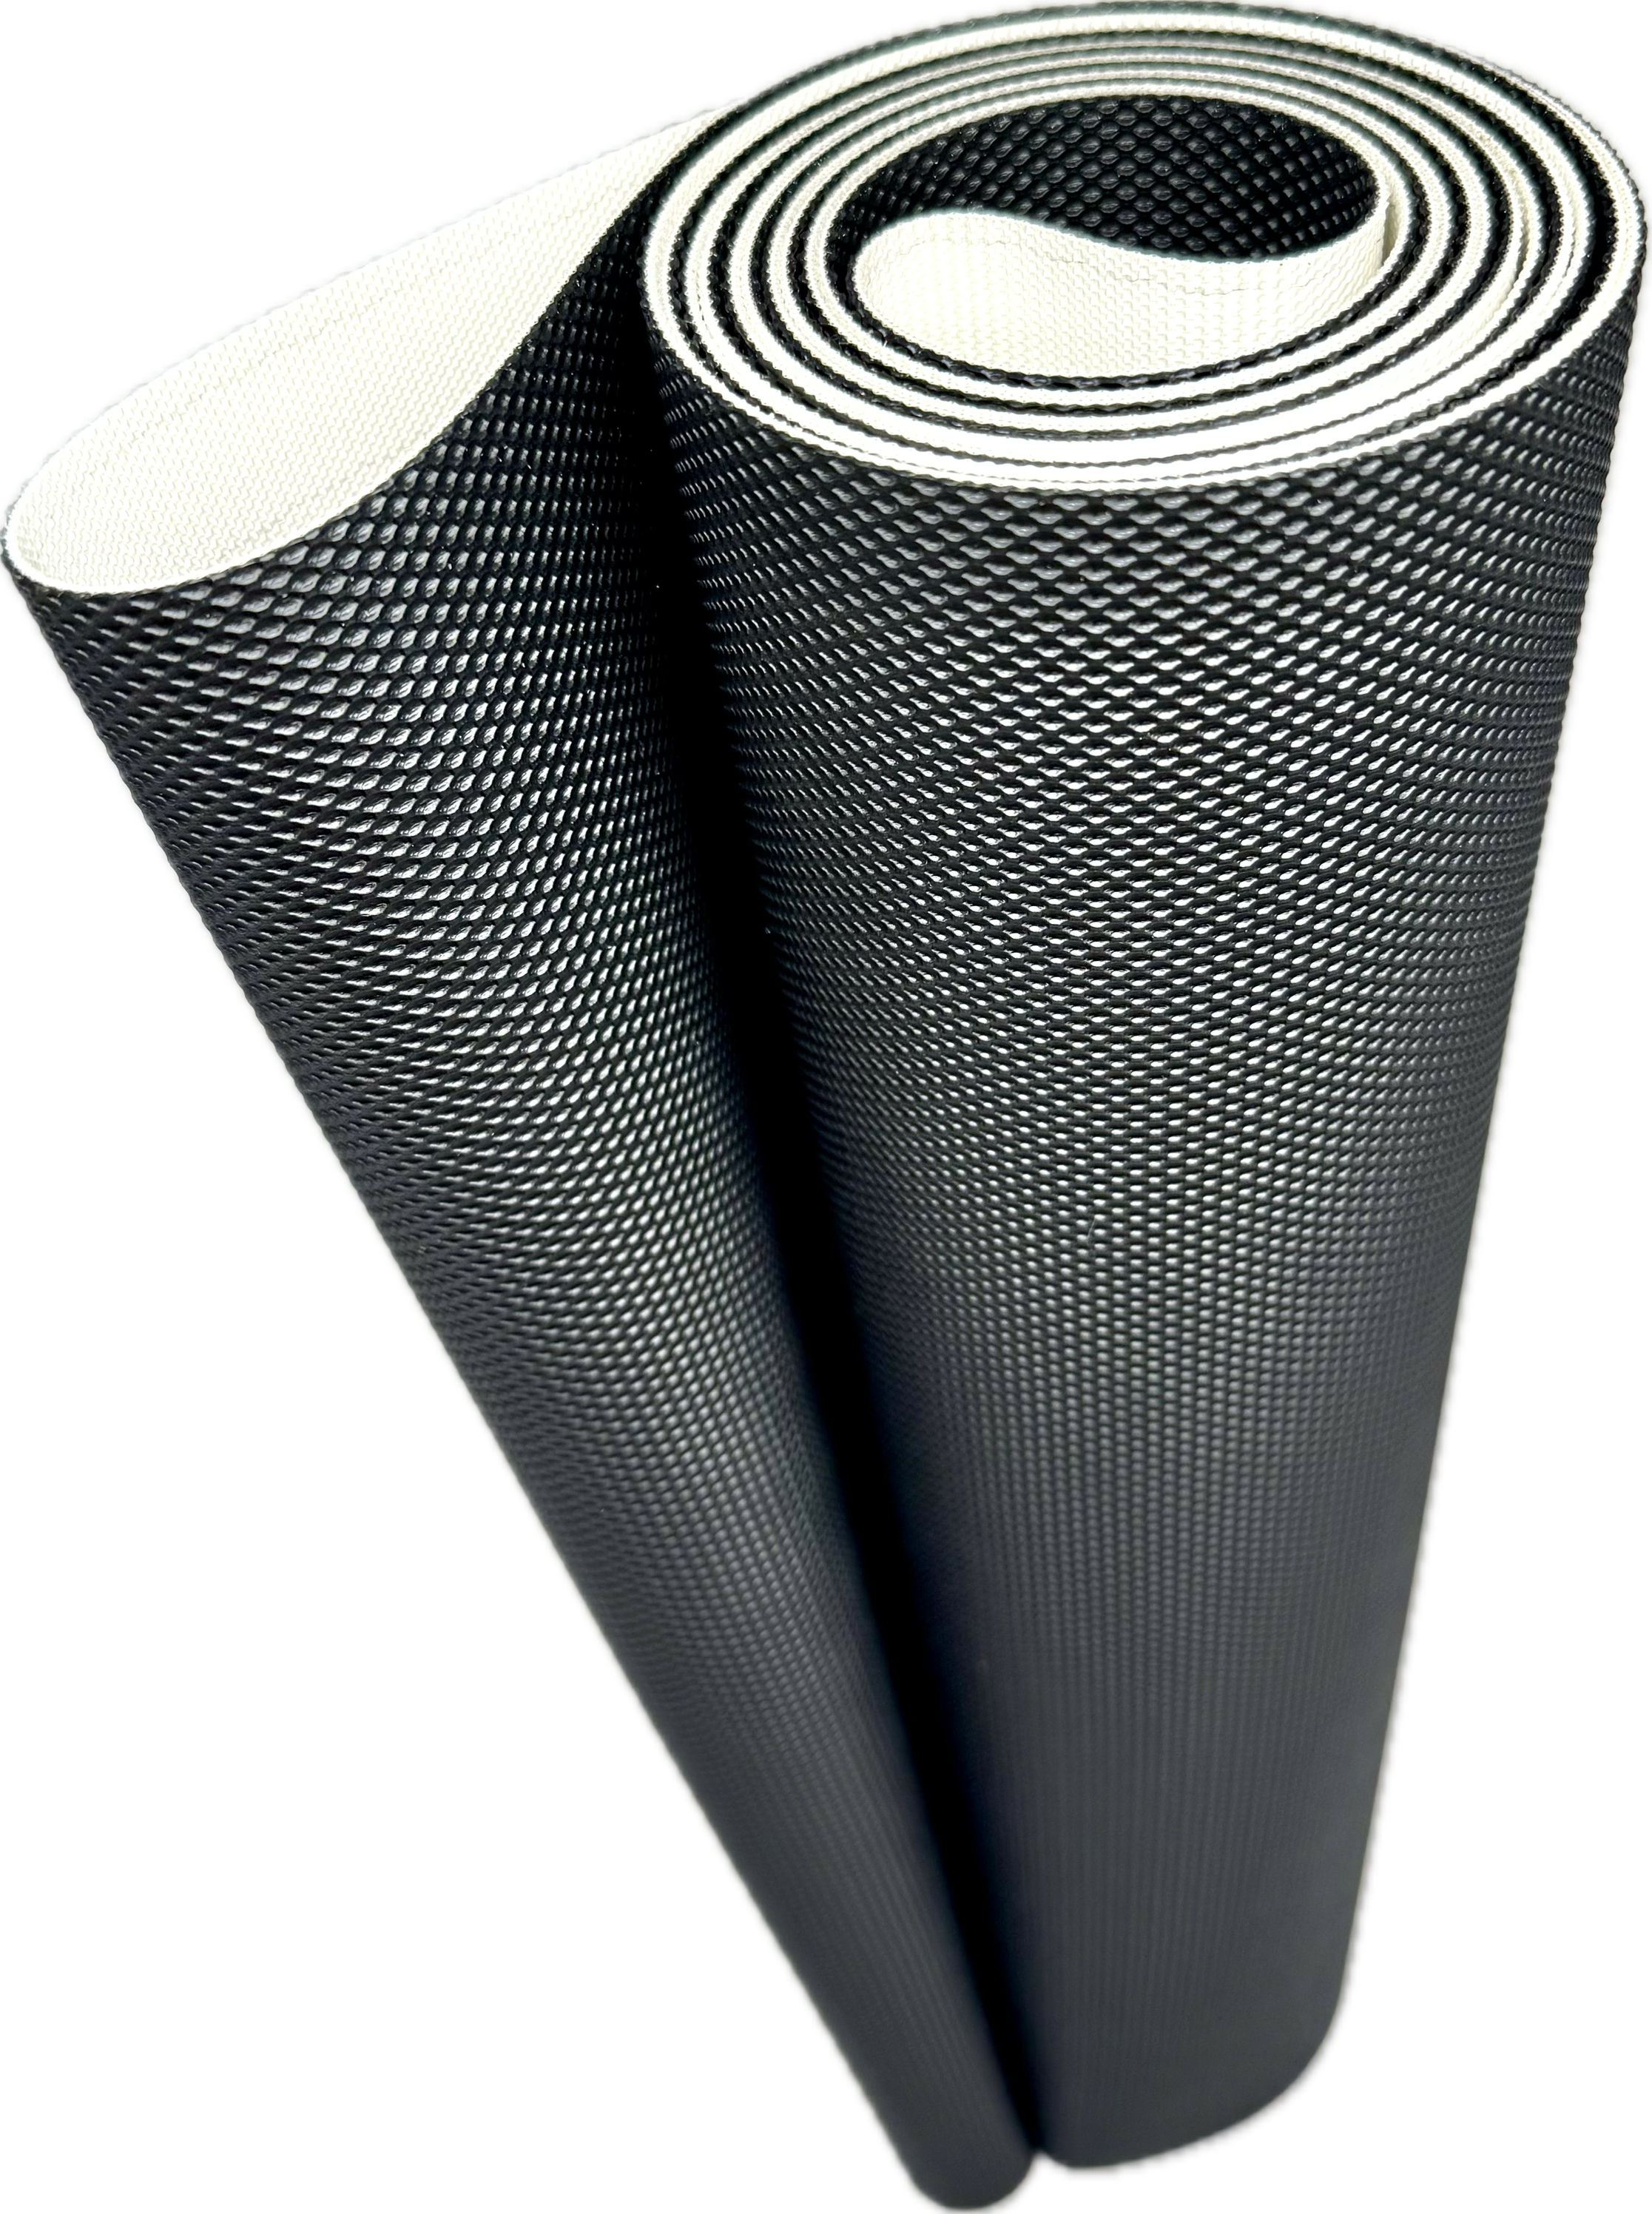
Common problems and troubleshooting
Even with care, you may face issues while you change treadmill belt. Here are common problems and fixes.
- Belt slipping during use
- Likely under-tensioned or contaminated with oil. Tighten slightly and clean or re-lubricate.
- Belt drifts to one side
- Adjust the opposite rear roller in small increments until centered.
- New belt squeaks
- Could be lack of lubricant or rough deck. Apply recommended lubricant and re-test.
- Tight belt that feels stiff
- Loosen rear bolts a quarter turn each side. Over-tensioning harms rollers and motor.
- Motor overload or error codes
- Check for binding, make sure the belt is not rubbing on the motor housing, and confirm proper tension.
If problems persist, stop and consult the manual or a technician to avoid motor damage.

Maintenance tips to extend belt life
After you learn how to change treadmill belt, proper care keeps it working well. Regular steps prevent early wear and reduce the need for another replacement.
- Wipe the belt and deck weekly to remove dust and sweat.
- Lubricate the belt every 3–6 months or per the manual.
- Keep the treadmill in a cool, dry spot to avoid heat damage.
- Check belt alignment and tension monthly.
- Use a treadmill mat to reduce dust and vibration.
- Avoid jumping onto the belt while it’s running; start slowly to reduce shock to rollers.
My routine: quick clean after every few sessions and a full check monthly. This routine doubled the life of my last treadmill belt.
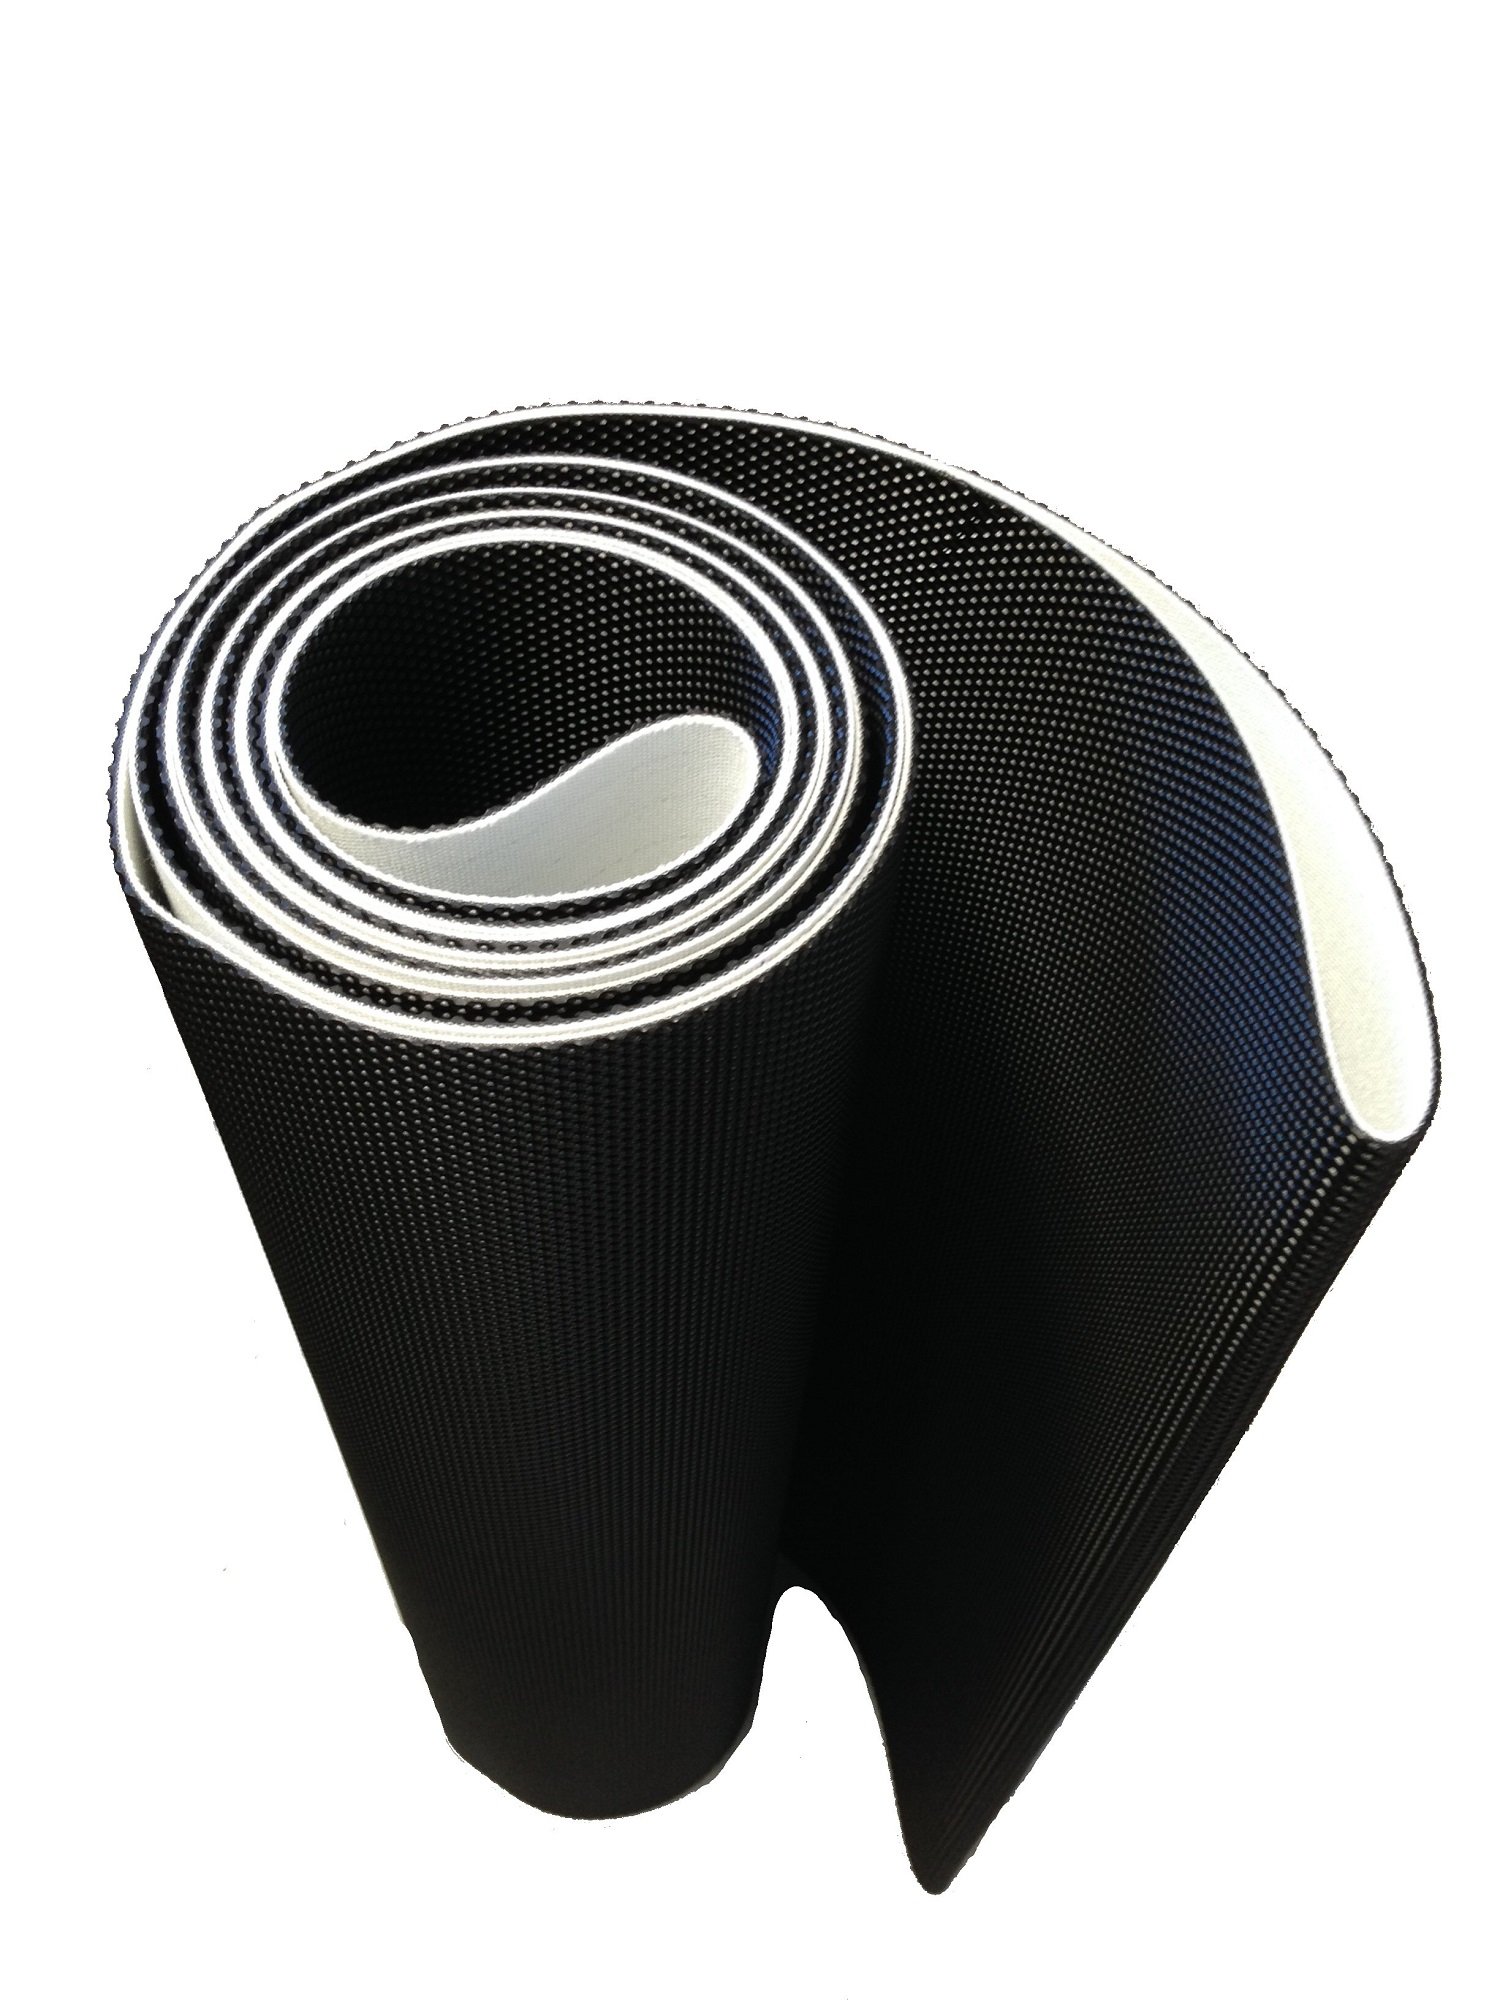
Cost, DIY vs professional
Deciding how to change treadmill belt often comes down to cost, skill, and time.
- Cost ranges
- New belt: $50–$250 depending on model.
- Labor from a pro: $75–$200 extra, depending on travel and complexity.
- DIY pros
- Save money, learn your machine, and do it on your schedule.
- DIY cons
- Mistakes can cause motor or deck damage. It may void warranty if not done per manufacturer rules.
- When to hire a pro
- If the deck or rollers need replacement, if you see motor damage, or if your warranty requires certified service.
I replaced belts on older units myself and hired a tech for a high-end treadmill with a complex console. The pro saved me hours and ensured warranty compliance.

Frequently Asked Questions of how to change treadmill belt
How long does it take to change a treadmill belt?
A typical DIY change takes about 1–2 hours. More complex models or damaged parts can add time.
How often should I replace my treadmill belt?
Most belts last 3–7 years based on use and care. Replace earlier if you notice slipping, fraying, or noise.
Will replacing the belt void my warranty?
It can if the warranty requires certified service. Check your manual or warranty terms before doing it yourself.
What is the correct belt tension?
A common rule is 2–3 inches of lift at mid-deck with moderate force. Always follow your model’s specs for best results.
Can I use any treadmill lubricant?
No. Use a lubricant recommended for treadmill belts, usually a silicone-based formula. Other oils can damage the deck and belt.
What if the belt keeps drifting after I adjust it?
Small drift corrections are normal. If it keeps moving, check the rollers for wear and ensure the deck is flat and clean.
Conclusion
Changing a treadmill belt is a manageable task when you follow clear steps, use the right tools, and work safely. Mastering how to change treadmill belt saves money and keeps your workouts safe and smooth. Start by gathering tools and your model’s specs, take photos as you disassemble, and test carefully after installation. Try the DIY route if you feel confident, or hire a pro for complex issues—either way, act early when you see signs of wear.
Ready to get started? Pick up the correct belt for your model, set aside a clear workday, and share your experience or questions in the comments below.

Brandon Knoxley is a sport & fitness writer and training guide contributor at MySportFitHub. He focuses on practical workouts, performance-based training, and honest fitness gear insights designed for real people and real results. Brandon is passionate about helping beginners and active individuals train smarter, avoid common mistakes, and build sustainable fitness habits.