How To Disassemble A Treadmill: Step-By-Step Guide
Disassemble a treadmill safely by unplugging, removing the motor cover, belt, and loosening frame bolts.
I’ve taken apart dozens of home and commercial treadmills for repair, moving, and recycling. This guide explains exactly how to disassemble a treadmill step by step, with clear tools lists, safety tips, common pitfalls, and reassembly advice so you can finish the job quickly and safely. I’ll share hands-on tips from real repairs, plus testing and disposal notes so you avoid mistakes I learned the hard way.
Tools and preparation
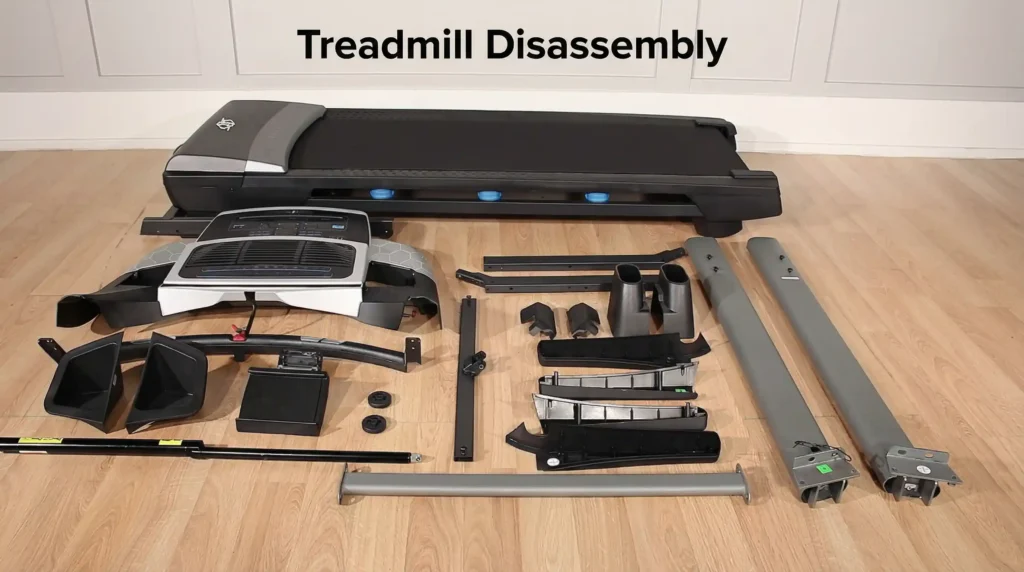
Before you learn how to disassemble a treadmill, gather the right tools and plan the workspace. Small mistakes cost time and money, so preparation matters.
- Basic socket set with metric and standard sizes
- Set of screwdrivers: Phillips and flathead
- Allen wrench set (hex keys)
- Adjustable wrench and pliers
- Torque wrench or long-handled ratchet for stubborn bolts
- Zip-top bags and permanent marker for labeling screws
- Moving blankets, dolly, and straps if you will move heavy parts
- Camera or phone to photograph wiring and connections
- Safety glasses and work gloves
Prepare a clean, well-lit area with room to lay out parts. Turn off power at the outlet and wait a few minutes for capacitors to discharge before touching electronics. Manufacturer manuals recommend taking photos of wiring before disconnecting anything to speed reassembly.
Safety precautions
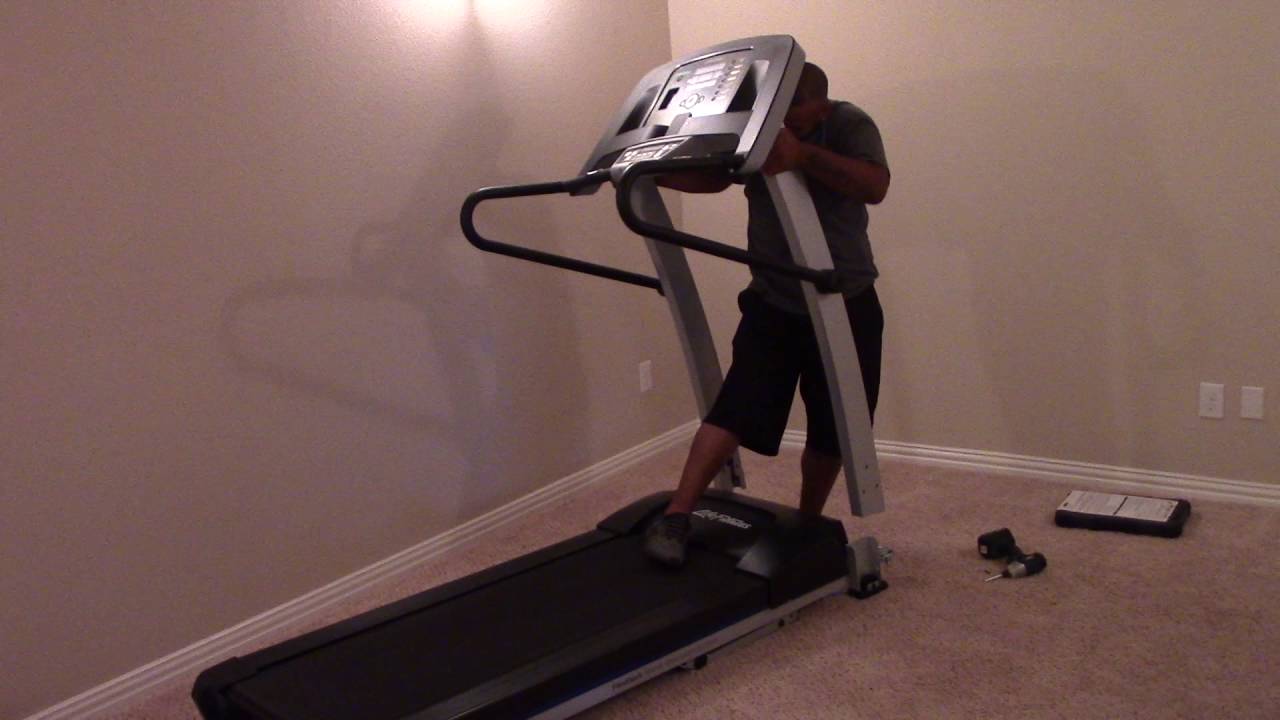
Safety is the foundation of any successful disassembly. Follow these points to avoid injury or damage while you disassemble a treadmill.
- Always unplug the treadmill and switch off any circuit breakers before starting.
- Remove batteries from the console if present, and wait 5–10 minutes for internal capacitors to drop.
- Use gloves to protect your hands from sharp edges and greasy parts.
- Have a second person help when lifting or tipping heavy components to prevent back injury.
- Keep children and pets out of the work area to avoid accidents.
- Wear eye protection when prying covers or removing springs.
Electrical and mechanical hazards are real. If you hit resistance removing wiring or a motor, stop and reassess; forcing parts can damage shrouds or strip screws.

Step-by-step disassembly guide
This section walks you through how to disassemble a treadmill from start to frame-down. I use short steps so you can follow along.
1. Unplug, document, and remove the console
- Unplug the power cord and remove batteries.
- Take photos of the console wiring and connectors.
- Remove the console screws and set the unit on a soft surface.
- Disconnect ribbon cables and plug connectors gently.
2. Detach handrails and uprights
- Remove plastic end caps on handrails if present.
- Unscrew bolts at the base of uprights using the correct socket.
- Support the upright while loosening to prevent it from falling.
- Label bolts and screws by location.
3. Disconnect electronics and safety key assembly
- Trace and label all connector plugs to the motor controller.
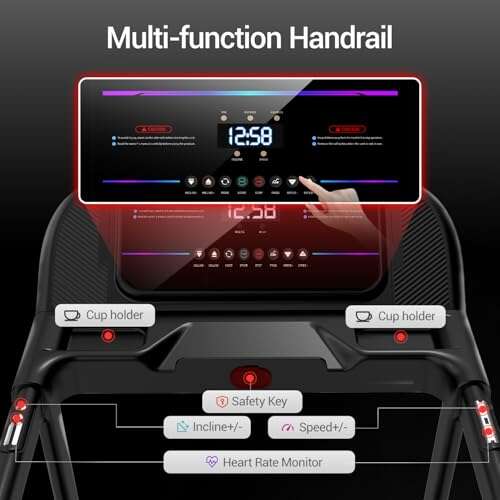
- Remove the safety key housing and the safety switch wiring.
- Place small connectors in labeled bags.
4. Remove motor cover and motor assembly
- Unscrew the motor cover screws and lift off the cover.
- Photograph the belt routing and motor wiring.
- Disconnect motor wires from the controller, noting colors and positions.
- Unscrew motor mount bolts and slide the motor back to loosen belt tension.
- Carefully lift motor assembly out with a helper if heavy.
5. Remove the running belt and deck
- Loosen rear roller bolts to release belt tension (turn adjustment bolts counterclockwise).
- Slide the belt forward and lift the deck out of the frame.
- Inspect the deck for wear; keep track of spacers and washers.
6. Take out rollers, electronics, and smaller parts
- Remove the front and rear roller bolts and bearings.
- Take out the controller box and fan assembly if needed.
- Bag and label all small components including end caps and screws.
7. Disassemble the frame if needed
- Unbolt frame cross members and lower the frame sides with help.
- Keep long bolts and structural pieces together.
- Separate cushions, shock absorbers, and rubber feet for recycling or reuse.
When you disassemble a treadmill, work methodically and keep parts organized. I once mixed two different bolt lengths and had to backtrack for hours—labeling saves that time.

Labeling, organizing, and storing parts
Good organization makes reassembly painless and saves trips to the hardware store.
- Use zip-top bags to group fasteners by step and label each bag with a marker.
- Place larger parts (motor, rollers, deck) on moving blankets to avoid scratches.
- Use a shallow cardboard box or tray for screws you’ll use quickly during reassembly.
- Keep connectors and wires taped to the part they belong with, or photograph them.
- Store electronics in a dry, static-free area and metal parts in a rust-free space.
I store each treadmill’s parts in one labeled crate when doing multiple jobs. That avoids confusion later.

Troubleshooting and common problems
You may hit snags when you disassemble a treadmill. Here are frequent issues and fixes.
- Stuck or rusty bolts
- Apply penetrating oil and wait 15–30 minutes before attempting removal. Use breaker bar for leverage if needed.
- Stripped screw heads
- Use a screw extractor or a rubber band for grip. Heat can loosen stubborn screws but use it cautiously near plastics.
- Seized bearings or rollers
- Knock out roller pins gently with a drift punch and hammer. Replace bearings if they feel rough.
- Unclear wiring or missing connectors
- Use your photos and label bags. If a wire is missing, trace color codes on the controller diagram.
If a motor or controller smells burned or shows physical damage, stop and consider professional electronics disposal or repair.

Reassembly tips and testing
Reassembly is the reverse of disassembly but requires care to ensure safe operation.
- Reinstall structural parts first, then rollers, belt, motor, and finally electronics.
- Tighten bolts finger-tight, then torque to spec if you have the manual.
- Align the belt by centering it on the deck before tensioning.
- Reconnect wiring using photos and labels. Double-check all connectors.
- Power up with the belt elevated or without load, and test console functions before a full test walk.
- Run at low speeds and observe for unusual noises, wobble, or electrical smells.
When you reassemble a treadmill, patience beats force. I always run a short test walk at 2 mph to confirm smooth operation before handing it back to a client.

Maintenance, disposal, and environmental considerations
Treadmills contain metals, plastics, electronics, and sometimes batteries. Responsible handling matters.
- Keep reusable parts like motors, rollers, and decks in good condition for resale or reuse.
- Recycle electronics and circuit boards through e-waste programs. Do not dump them in trash.
- Remove and recycle lithium batteries or battery packs at approved collection points.
- Donate or sell frames and motors if functional; many hobbyists repurpose treadmill motors for projects.
- Clean and lubricate parts if you plan to rebuild or sell them.
Manufacturer guidance and local recycling centers can advise on safe disposal routes for the treadmill components you don’t reuse.
Frequently Asked Questions of how to disassemble a treadmill(make it h2 tag)
Is it safe to disassemble a treadmill at home?
Yes, it is safe if you unplug the unit, remove batteries, use proper tools, and follow safety steps. For heavy lifting or electrical repair, having a helper or pro is recommended.
How long does it take to disassemble a treadmill?
A basic disassembly typically takes 1–3 hours depending on experience and the model’s complexity. Commercial or heavy-duty units can take longer and may need two people.
Do I need to remove the motor to take the treadmill apart?
Removing the motor is often required to free the belt and access the deck and rollers. Photograph wiring and label connectors before disconnecting the motor.
What should I do with the treadmill belt and deck after removal?
Inspect them for wear. If in good condition, store for reuse or sell; if worn, recycle or dispose of them according to local waste rules.
Can I disassemble a treadmill without the manual?
You can, but a manual speeds reassembly and provides torque specs and wiring diagrams. If you lack a manual, take clear photos and label everything carefully.
Conclusion
You now have a clear, practical plan for how to disassemble a treadmill safely and efficiently. Gather the right tools, document wiring, label parts, and work step by step; that routine keeps surprises to a minimum. Start small, stay safe, and don’t rush heavy lifts—ask for help when needed. If this guide helped, try disassembling a single section first, then move to a full teardown. Leave a comment with your model or questions, or subscribe for more hands-on repair and teardown guides.

Brandon Knoxley is a sport & fitness writer and training guide contributor at MySportFitHub. He focuses on practical workouts, performance-based training, and honest fitness gear insights designed for real people and real results. Brandon is passionate about helping beginners and active individuals train smarter, avoid common mistakes, and build sustainable fitness habits.